Snapple fact: You’re rather whack
- 0 Posts
- 21 Comments

 7·2 个月前
There is also a google drive link on Free Radical Archive’s discord if the Hidden Palace link is down. Unfortunately I am away from my pc and can’t verify either right now

 26·2 个月前
Me having my first ‘open world’ experience with TES Oblivion and not enjoying it until my inner monologue suddenly switches from “I don’t know where to go. I don’t know what to do” to “I can go anywhere. I CAN DO ANYTHING!” and then I am slaughtered by the guard for trying to kill the nearest random peasant.
-Sometime in 2007
I haven’t really played any romhacks besides one. A while ago I played through the Gold Quest for Ocarina of Time. It’s like an upgraded version of Master Quest: remixed dungeons, enemies added in different locations, items have been moved to different locations, and some changes to the world outside of dungeons. Great for anyone that wants a more challenging version of OOT.
I’ve also been watching a friend play through a Pikmin romhack called Bikmin 269. This game is straddling the line between a shitpost and a fever dream. You collect NFTs and Bitcoins, the ground texture is layered images of Shaggy from Scooby Doo, the space ship is a T-posing Luigi, and one type of Pikmin is a “mushroom” that looks suspiciously penis-like… It’s a nightmare in the best possible way

 3·4 个月前
On GameCube, I can see that Legend of Zelda Wind Waker, Mario Party 6, Smash Bros Melee are all unavailable. On N64, Ocarina of Time, Majora’s Mask, Pokemon Stadium are also unavailable

 51·4 个月前
Definitely Vimm’s Lair for me. I still play a lot of GameCube and N64 games and Vimm’s was always my go-to place for finding roms. They got hit with a lot of DMCAs and take down notices, and had to remove the vast majority of their Nintendo library along with anything related to Sega and Lego. The site is still up, but it’s like visiting a graveyard now

 622·5 个月前
That whole thing looks shady as hell. To me it seems like the whole interview process is meant to collect all the data they can about you, whether it is to sell the info or to hold on to it for… reasons. Also a private, invite/interview entry only community that strictly prohibits the use of a VPN or TOR and is based around sharing media? Bruh. Either they are sharing something a lil more illicit than your standard rips of Hollywood movies, or this is a honeypot to catch the kinds of people who share that kind of stuff. Everything about this is all red flags and alarm bells
I think so. After some quick googling, it looks like some people get it to work on white, grey, and blue bricks, but leaving it in too long causes white “chalky” spots to form. Try at your own risk I guess
You can get rid of the yellowing by soaking the shell of the NES is dilute hydrogen peroxide and shining UV lights on the shell. There’s a bunch of tutorials all around.
https://amaiorano.io/2022/09/13/nes-restoration.html#retrobriting

 2·6 个月前
Yeah, pretty much lmao!
Edit: They show it off at the Game Done Quick charities every year or so. Here is one that is Ocarina of Time and Kingdom Hearts II

 2·6 个月前
So it is a program running in the program from Archipelago that can connect multiple randomizers together. You can have a friend playing a different randomizer somewhere else and you can send them item for their game and vise versa. Or you can run an a-synch on your own by doing everything you can in one game, and then swapping to another.
They have a list of compatible randos on their website, and I’d be willing to answer any other questions you have

 6·6 个月前
I know it’s not the “official” game, but I’ve been playing some Ocarina of Time (1998) multi-world randomizers every now and then over the last couple years.
Richard the Lost Dog. Love that lil rascal

 1·8 个月前
Spiderman 64 starts off exactly how you describe the game you remember. There is a tutorial, you stop a bank robbery, and then you have to save J Jonah Jameson by fighting Scorpion. Looked up some videos of the Scorpion fight, but it doesn’t look like he has a grab attack.
It was released on the Nintendo 64 in 2000. Not sure how different the ports are, but the game was ported to the PC in 2001, and to Mac in 2002.
Uhh… Depends on what is wrong with it. Is nothing happening when you try to turn it on, is it having trouble reading games, or does a controller port not work?
Some things can be pretty tricky, like if it needs a new laser in the disc reader. Whatever the case is, you should definitely start by popping the case open and to see if any capacitors are bulging/leaking/burst
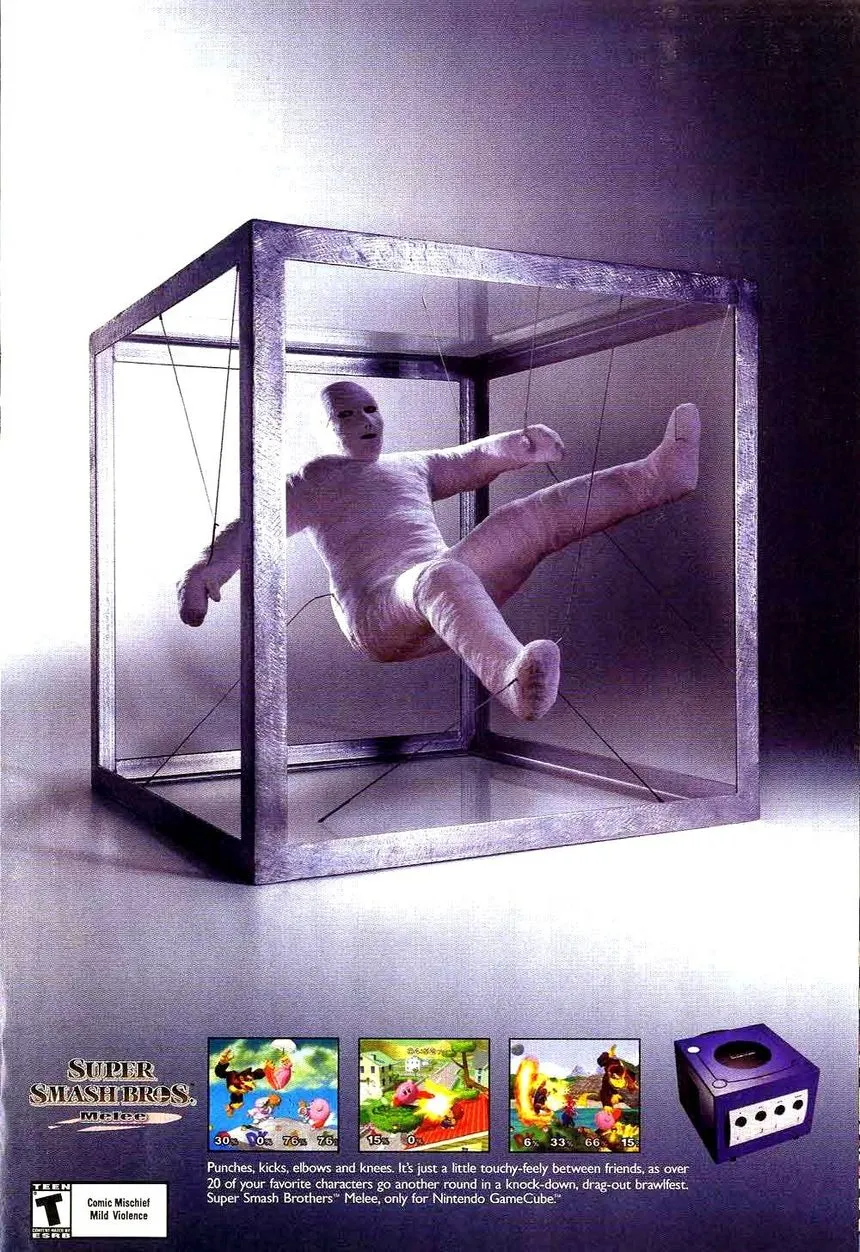
All of the ads that popped up in video game magazines were surreal as hell

 0·1 年前
Absolutely!
I have a bookmark saved on my computer at home to an old forum with the instructions I followed when I started doing this, and I can send that link later.
There are two programs that I use, and both are free.
GIMP - image editing software
Audacity - audio editing software
Here is the basic process from that bookmarked forum post that I can remember off the top of my head. If something is wrong (especially the Audacity import settings, since I don’t ever change them), I will fix it later.
-
In GIMP (or other software of your choice) convert the image to a bitmap (.bmp). This step is very important!
-
Use the option to import raw data as A-law with “little endian” (I have no idea what those setting do, but I assume it’s for keeping the header intact)
-
Change the timeline in Audacity from time to samples and select everything after the 34th sample to edit and add effects (samples 1-34 are the information that tells your computer that this is a picture CHANGING ANYTHING IN THE HEADER WILL STOP YOU FROM OPENING THE IMAGE AFTER THE EDIT)
-
Export the audio using the raw data option, selecting A-law again. This should re-save the “audio” as a bitmap image as it will not add an audio file header to the data.
I believe the blue parking garage image uses reverb, or maybe a phasor… possible both to get that effect? But there are a lot of setting to mess with for each audio effect that can dramatically change the outcome. The trees picture was made by putting the original picture in the left audio channel, and putting a horizontally flipped copy of the image in the right audio channel. Delete the header from the flipped copy, and exporting the data smashes them together in this really strange mirror effect. Afterward, I would use GIMP for any color correcting, changing saturation/hue, simple stuff
Edit: spelling and formatting
-


I love playing randomized OOT. If your a casual player and don’t have the location of every chest memorized, I would strongly suggest using a map tracker, I used Emo Tracker. It lets you cross off any chests you have already found, and it will show you what chests are available to you with the items you have.